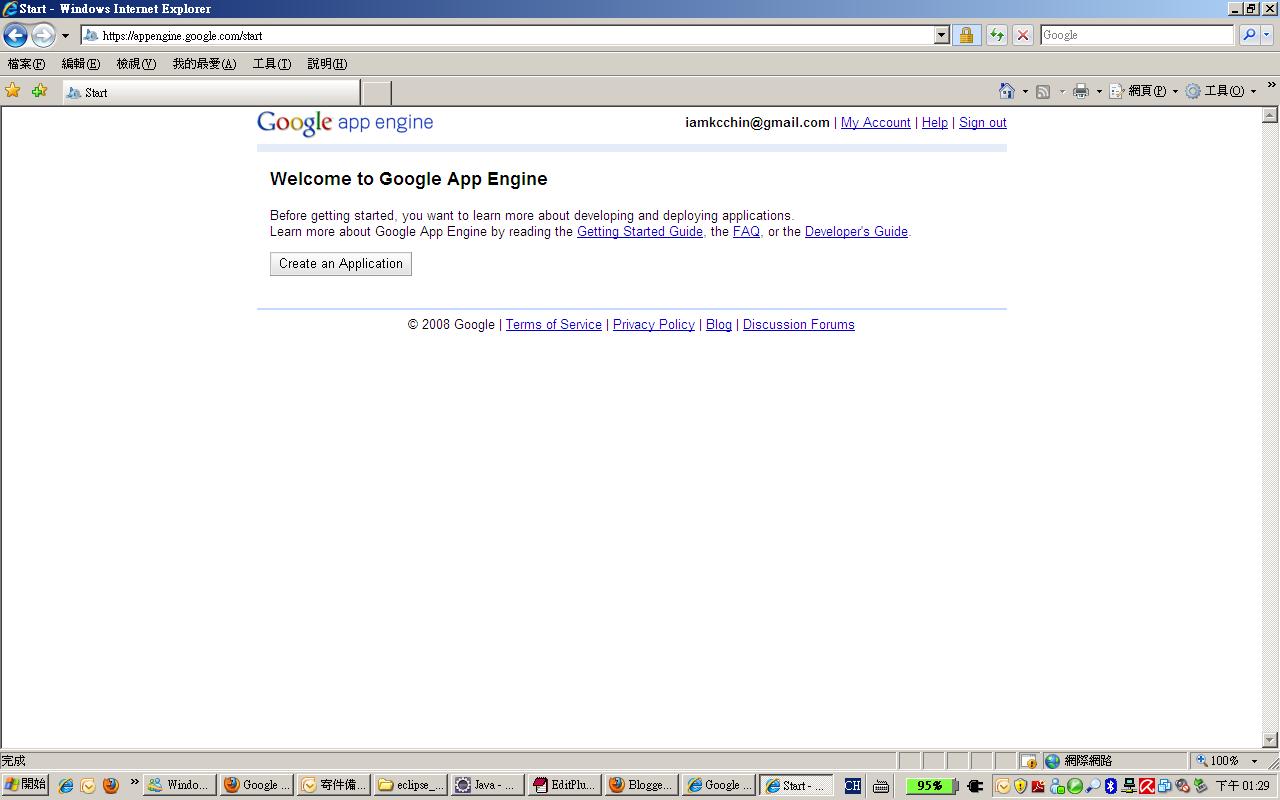
1.1.用google帳號登入
1.2.點選Create an Application
1.3.輸入手機號碼,格式為+886918123456(省略第一個0),申請完成後,google會回傳一封認證的簡訊到你的手機

1.4.輸入認證碼

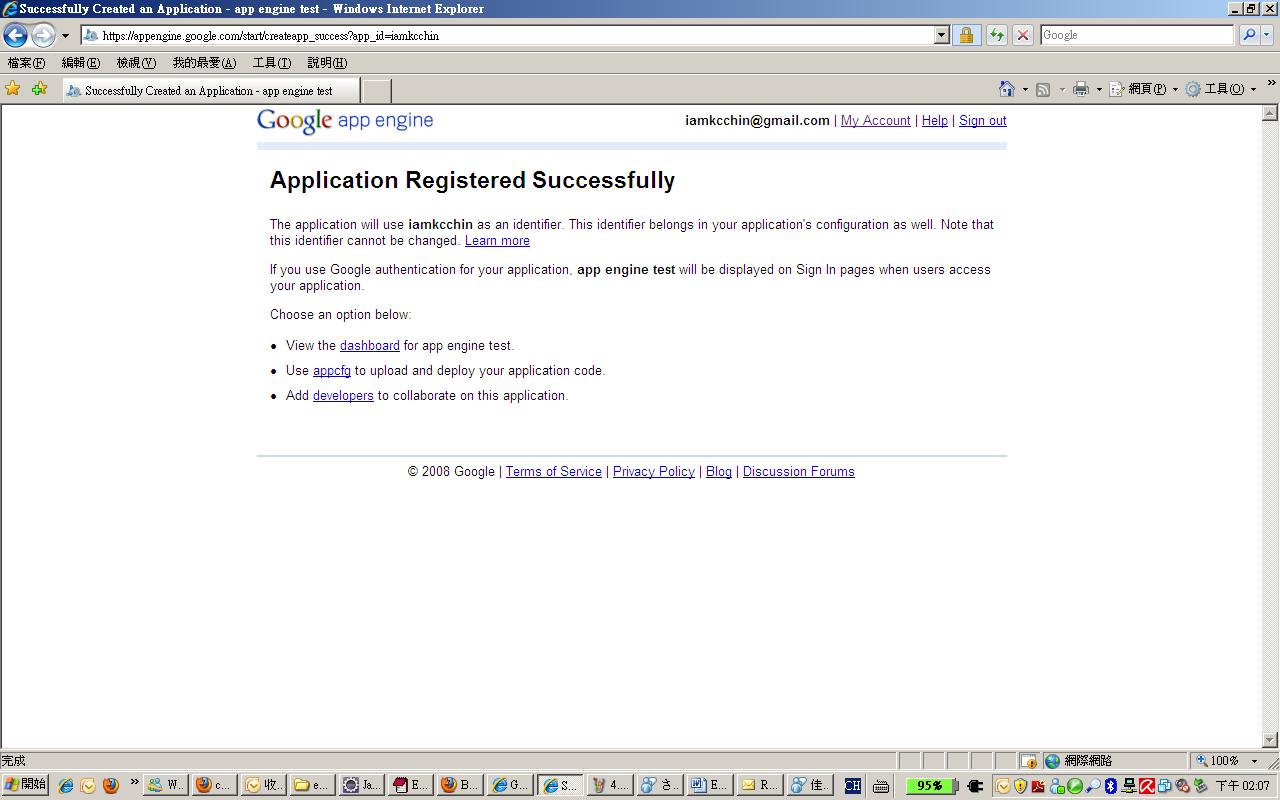
1.5.輸入Application資訊

1.6.完成
2.建立開發環境
2.1.下載Eclipse
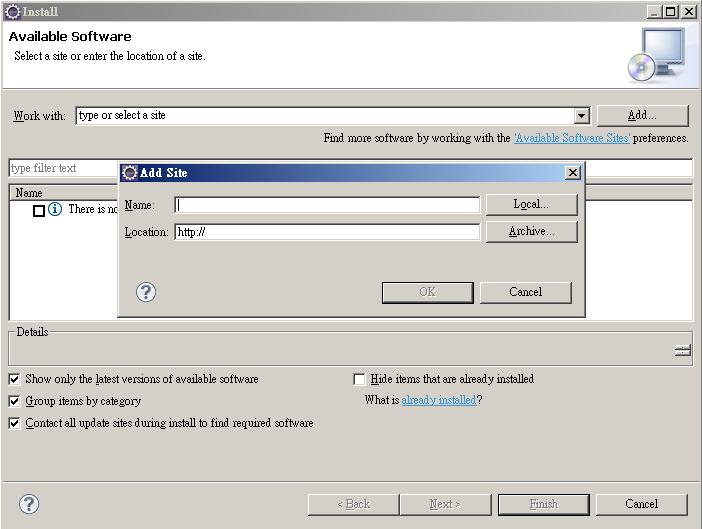
2.2.下載和安裝Google Plugin for Eclipse and Google App Engine Java SDK
選擇上方Menu的Help->Install New Software,按下Add按鈕後,會出現Add Site視窗, Name隨便輸入,Localtion請輸入http://dl.google.com/eclipse/plugin/3.5
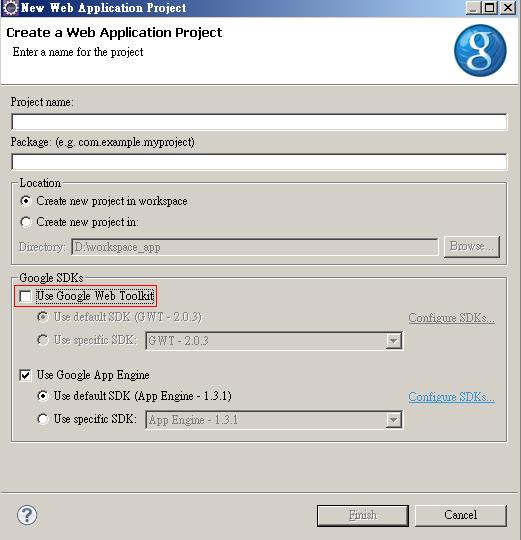
3.建立一個新的專案
選擇上方Menu的File->New->Web Application Project,Use Google Web Toolkit請不要勾選
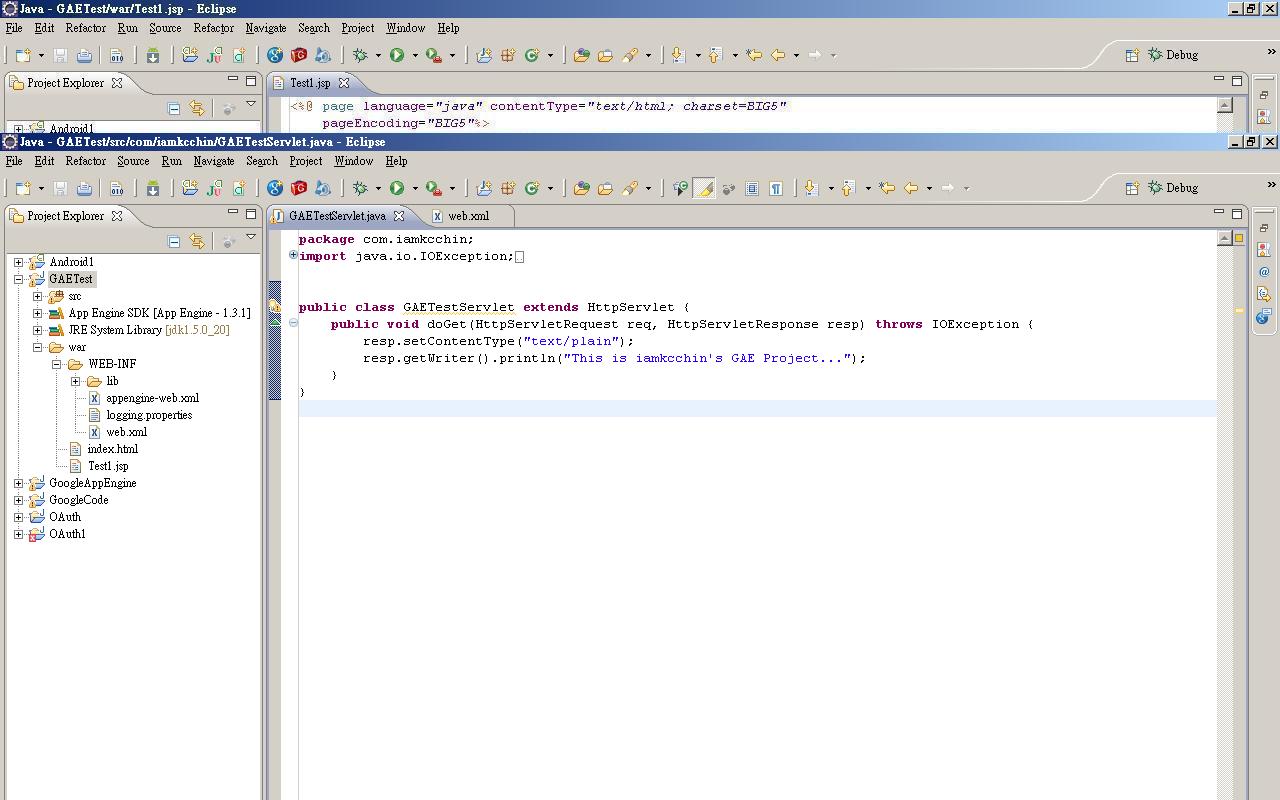
4.撰寫第一個程式
專案建立時,預設會建立一支servlet,寫一段簡單的程式
5.測試
5.1.在專案上按滑鼠右鍵,選擇Run As->Web Application把server給run起來

5.2.console視窗會顯示server啟動訊息

5.3.開啟browser看程式執行結果

6.Deploy
6.1.透過管理網頁https://appengine.google.com/看一下application現況,現在Current Version顯示None Deployed

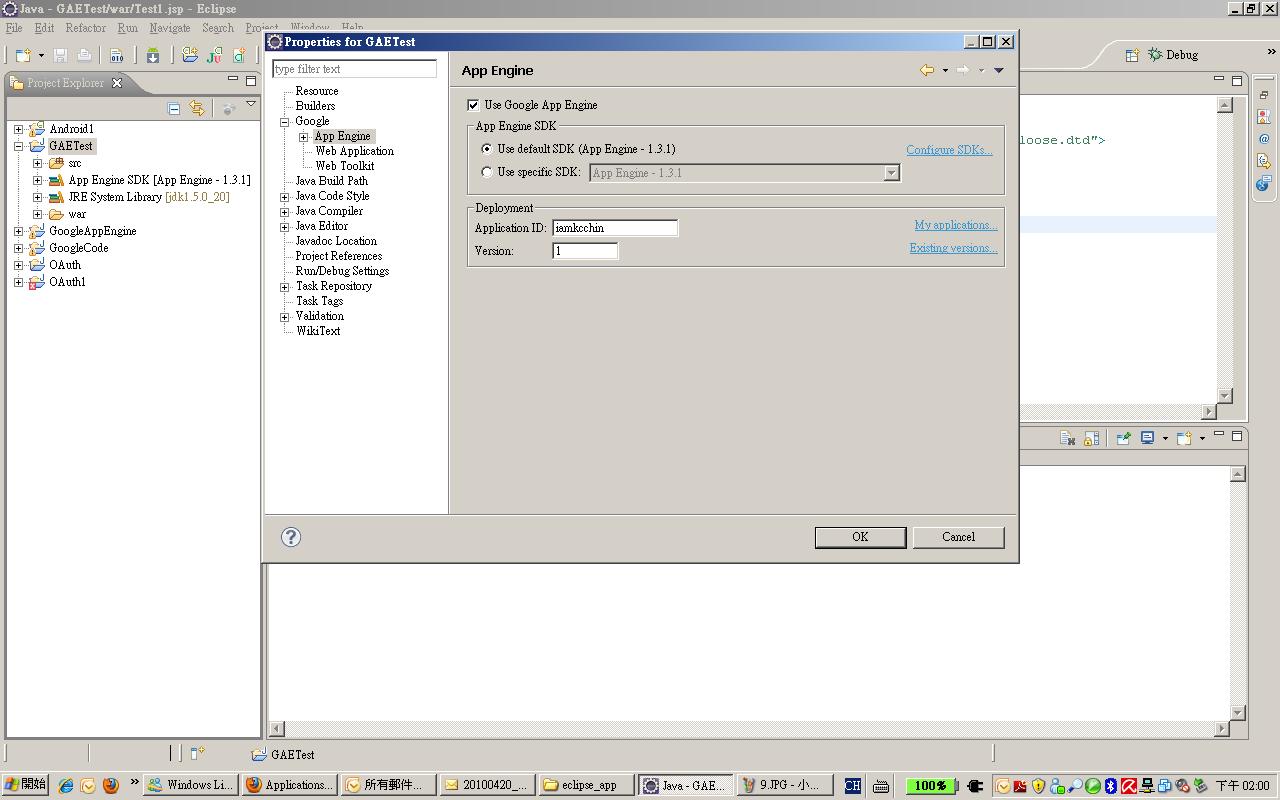
6.2.設定Application ID
在專案上按滑鼠右鍵,選擇Properties->Google->App Engine,Application ID需和在google申請的Application Identifier相同
6.3.Deploy
按下Deploy App Engine Project的按鈕

輸入Email和password後,按下Deploy按鈕

Deploy過程中,console視窗會顯示deploy相關訊息

出現Deployment completed successfully代表deploy成功了

6.4.透過管理網頁https://appengine.google.com/看一下application現況,現在Current Version顯示1

6.5.在browser輸入http://iamkcchin.appspot.com/gaetest看到專案已經可以成功運作了
